
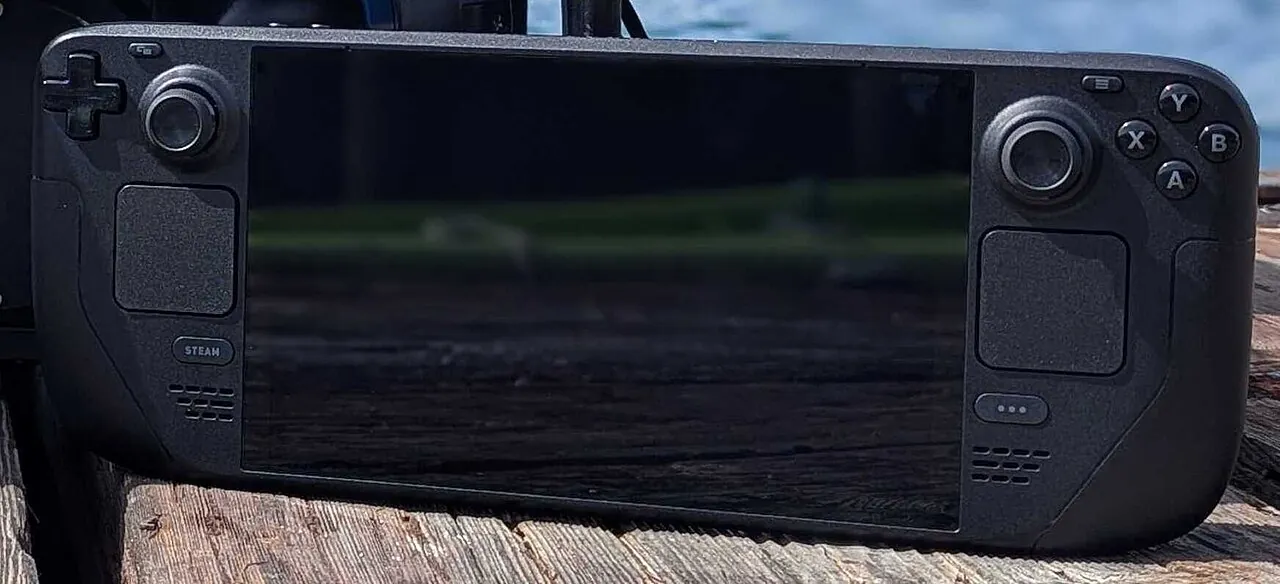
You can install WoW Forever on Steam Deck and Steam Machine by switching to SteamOS Desktop Mode, adding Blizzard’s Windows Battle.net installer to Steam as a non-Steam game, and running it through Proton. After installing World of Warcraft: Forever inside Battle.net, you repoint that same Steam shortcut to Battle.net Launcher.exe, switch back to Gaming Mode, and turn on Blizzard’s built-in controller interface under Options, Gameplay, and Gamepad. Because both machines run SteamOS 3, the setup steps match from start to finish, while Steam Input bindings and addon folders let you tune the layout for handheld or living-room play.
What to check before installing
World of Warcraft: Forever launched on November 4, 2026, and Blizzard only offers official support for Windows and Mac. Running the game on SteamOS is an unofficial workaround through Proton, Valve’s compatibility layer that translates Windows apps and games for Linux.
Blizzard’s minimum Windows specs call for a four-core 3.0 GHz processor, a DirectX 12 graphics card with 4 GB of video memory, 8 GB of RAM, a 1280 x 720 minimum display resolution, and 128 GB of free SSD space. Both Steam Deck OLED (with its Zen 2 four-core chip, 16 GB of RAM, 1280 x 800 display, and 512 GB or 1 TB NVMe SSD) and Valve’s Steam Machine specs (a six-core Zen 4 CPU, 28-compute-unit RDNA 3 GPU, 16 GB of DDR5 RAM, 8 GB of GDDR6 VRAM, and a 512 GB or 2 TB NVMe SSD) clear those memory and storage marks on internal storage.
Before you start, plug in a USB or Bluetooth keyboard and mouse if you have them handy. Typing your Battle.net login and browsing folders in KDE Plasma (the Windows-style desktop environment inside SteamOS) goes much faster with physical peripherals, especially on a living-room Steam Machine.
How to install Battle.net and WoW Forever on SteamOS
Follow these steps in order so Steam keeps your Battle.net files intact inside one Proton prefix, which is the sandboxed Windows folder structure Steam creates for each non-Steam app.
- Press the Steam button, open Power, and select Switch to Desktop to enter SteamOS Desktop Mode.
- Open a web browser such as Firefox, go to Blizzard’s official Battle.net download page, and download Battle.net-Setup.exe.
- Open Steam in Desktop Mode, click Games, and choose Add a Non-Steam Game to My Library (or click Add a game in the bottom-left corner and pick Add a Non-Steam Game). Click Browse, change the file type filter to All Files, select Battle.net-Setup.exe, and click Add Selected Programs.
- Right-click Battle.net-Setup.exe in your Steam Library, open Properties, select Compatibility, check Force the use of a specific Steam Play compatibility tool, and choose Proton Experimental.
- Click Play to run the Battle.net installer and finish the prompts. Once installation completes, close Battle.net completely, including any icon sitting in the system tray.
- Open the Dolphin file browser, press Ctrl+H to reveal hidden folders, and go to ~/.steam/steam/steamapps/compatdata/ (or ~/.local/share/Steam/steamapps/compatdata/). Sort the folders by creation date, open the newest numbered folder, and browse into pfx/drive_c/Program Files (x86)/Battle.net/.
- Right-click Battle.net Launcher.exe and select Copy location.
- Go back to Steam and open Properties, then Shortcut on your original Battle.net-Setup.exe entry, following the GamingOnLinux Battle.net walkthrough. Rename it to Battle.net, paste the copied path into Target wrapped in double quotes, and paste the containing Battle.net folder path into Start In, also wrapped in double quotes.
- Check that Properties and Compatibility still force Proton Experimental, click Play, and sign in to Battle.net.
- Inside Battle.net, open Settings (from the Battle.net menu or the gear icon next to Play), go to App, find On Game Launch, and select Exit Battle.net completely.
- Click the World of Warcraft icon (or All Games, then World of Warcraft: Forever), verify you have 128 GB free on your SSD, and click Install. Per Blizzard Support, each version of World of Warcraft installs separately with its own files.
- Double-click Return to Gaming Mode on the desktop, open Battle.net from the Non-Steam tab in Steam, and click Play on World of Warcraft: Forever.
Set up WoW Forever’s built-in gamepad UI
You don’t have to install third-party controller mods just to quest or run dungeons. World of Warcraft: Forever includes built-in gamepad support in functional beta as of November 2026, working with XInput-compatible controllers and showing Xbox or PlayStation button prompts.
Once you load into Azeroth, press Escape, open Options, select Gameplay, and open Gamepad to switch on controller controls. That menu lets you adjust Camera, HUD Modifier, Frame Focus Style, Action Bars, Targeting, and Raid Targeting Options.
According to Blizzard’s gamepad overview, holding LT, RT, or LT plus RT swaps between four action bars in a set, while holding LB plus RB and pressing D-pad Left or Right cycles through three full sets. That gives you 28 slots per set and 84 customizable spell and ability slots overall. A Mage, for instance, can bind four spells to D-pad Up alone: Polymorph on Up, Fireball on LT plus Up, and two more spells on RT plus Up and LT plus RT plus Up.
Default navigation puts movement on the Left Stick, camera rotation on the Right Stick, friendly and hostile targeting on LB and RB, Interact on X, Jump on A, Back on B, Inspect on Y, Main Menu on Menu, and Change Focus Frame on View. For quick menus without touching a mouse, hold LB plus RB and press B for your Backpack, Up for the Quest Tracker, Down for Chat, Y for Buffs, or push the Right Stick up and down to zoom the camera. Controllers with supported lighting even glow red for Horde characters and blue for Alliance.
Customize WoW Forever on Steam Deck vs. Steam Machine
The two SteamOS devices share identical software setup, though your hands and screen dictate a few smart tweaks in Steam’s controller settings for the Battle.net shortcut.
| Setting or control | Steam Deck OLED | Steam Machine |
|---|---|---|
| Primary input | Built-in gamepad, four assignable grip buttons, and dual 32.5 mm trackpads | Steam Controller via integrated wireless adapter, or Xbox and PlayStation controllers via Bluetooth or USB |
| Display output | Built-in 7.4-inch 1280 x 800 OLED screen | External TV or monitor over HDMI 2.0 or DisplayPort 1.4 |
| Best menu tweak | Map a trackpad to mouse cursor with left and right click | Use a Steam Controller trackpad or keep a wireless mouse and keyboard nearby |
Keep combat rotations on standard controller inputs so muscle memory stays clean, and bind a trackpad to mouse movement and clicks for sorting bags, trading, or reading quest text. Inside your controller settings, raise analog stick deadzones just enough to stop drift, start camera turn speed at medium before nudging it faster or slower, and turn on Soft-Targeting and Action-Targeting where available so enemy swaps feel snappier in combat.
Even with a tuned gamepad layout, typing in guild or trade chat still requires keyboard input. On Steam Deck, keep Steam running so you can pull up the virtual keyboard, while Steam Machine players will have a much easier time with a wireless keyboard within arm’s reach.
Install addons and ConsolePort on SteamOS
Addons work on SteamOS just like they do on Windows, though you manage them from Desktop Mode. As detailed in the Mobalytics Forever addon guide, World of Warcraft: Forever reads addons from the World of Warcraft/_forever_/Interface/AddOns directory, which you can open straight from Battle.net by clicking the gear icon next to Play, picking Show in Explorer, and opening forever, Interface, and AddOns.
You can either install the standalone Linux CurseForge app in Desktop Mode to update addons automatically, or unzip downloaded addon archives straight into that AddOns folder yourself. Back in the game, type /reload in chat (or restart), open Escape and AddOns, and check Load out of date AddOns if an early Forever port hasn’t bumped its version tag yet.
If Blizzard’s beta layout feels too rigid because certain face-button bindings stay locked, you can add the interim ConsolePort addon for World of Warcraft: Forever. It brings radial menus and broader button combinations for players who prefer full remapping over Blizzard’s defaults.
Fixes for common setup problems
- Battle.net disappears after installation: Never delete your original Battle.net-Setup.exe entry in Steam to add a fresh shortcut. Deleting that entry wipes its Proton prefix along with your install; always edit Target and Start In on the existing shortcut instead.
- Battle.net refuses to launch after editing the shortcut: Check that both Target and Start In are wrapped in double quotes. Windows folder names with spaces, such as Program Files (x86) and Battle.net Launcher.exe, break Steam launch paths without quotes.
- Controller stops responding after hitting Play: Open Battle.net Settings, select App, and set On Game Launch to Exit Battle.net completely. Leaving the launcher running in the background lets it steal window focus inside Gaming Mode.
- Addons never show up on the character select screen: Confirm you placed them inside _forever_/Interface/AddOns rather than a retail or classic folder, and check for double-nested folders. The folder inside AddOns must directly contain the addon’s .toc and .lua files.
Frequently asked questions
Should I use Proton Experimental or GE-Proton?
Start with Proton Experimental, because Valve pushes Battle.net compatibility fixes straight to that branch. If a future Battle.net patch breaks the launcher, open the Discover app in Desktop Mode, install ProtonUp-Qt, download GE-Proton for Steam, restart Steam, and switch your Battle.net shortcut to GE-Proton under Compatibility.
Can I install WoW: Forever on a microSD card?
Both Steam Deck OLED and Steam Machine have microSD card slots alongside their internal 512 GB to 2 TB NVMe drives. Blizzard’s official specs call for 128 GB on an SSD, so installing World of Warcraft: Forever on the internal NVMe SSD is the safer choice.
Do I need to redownload the game if I already copied Forever files over?
No. While every World of Warcraft version needs its own installation folder, you can open World of Warcraft: Forever in Battle.net and click Locate the game instead of Install to point the launcher at existing Forever files.