
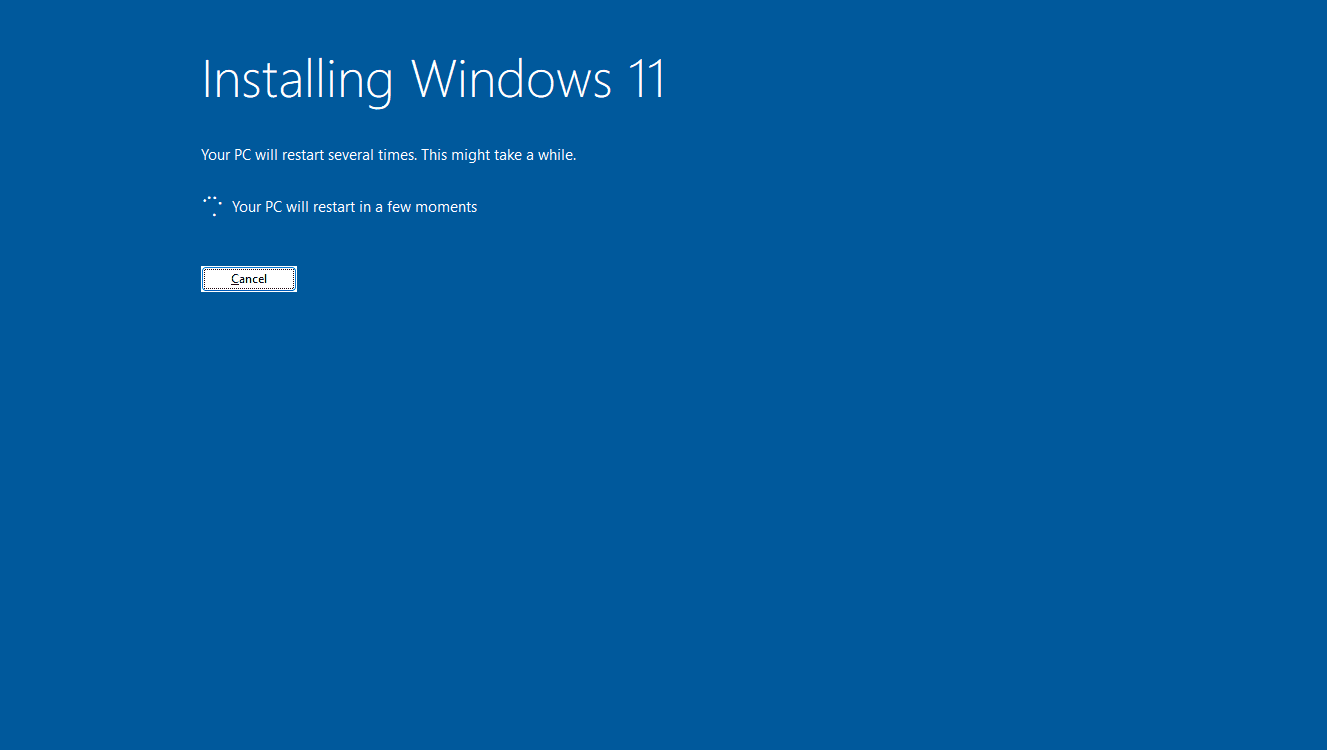
You can install Windows 11 on an incompatible PC by using a free application called Rufus to patch the official installation media. This forces the installer to ignore Microsoft’s hardware checks for TPM 2.0, Secure Boot, and older processors. You just need a USB flash drive with at least 8GB of space and the official Windows 11 ISO file.
Microsoft locked older hardware out of Windows 11. They mandated a Trusted Platform Module (TPM) 2.0 chip and a recent processor—specifically an 8th-generation Intel or an AMD Ryzen 2000-series chip. Millions of computers built before 2018 fail these checks. The installation wizard stops you immediately with an error message stating your PC does not meet the minimum system requirements.
The restrictions exist mainly as a software lock in the setup file. The operating system itself runs fine on older hardware once installed. You just have to trick the installer into ignoring the specifications of your motherboard and CPU.
Check Your Current PC Specs First
Before you alter any installation files, you should verify exactly which requirements your computer fails to meet. Sometimes a PC has a TPM 2.0 chip, but the feature is disabled by default in the motherboard settings. You can check your TPM status quickly within Windows.
Press the Windows Key + R on your keyboard to open the Run dialog box. Type tpm.msc and press Enter. A window will appear detailing your Trusted Platform Module management on the local computer. Look under the “Status” section. If it says the TPM is ready for use, check the “Specification Version” in the bottom right corner. If it reads 2.0, your PC meets that specific requirement.
You also need to check your BIOS mode. Press the Windows Key + R again, type msinfo32, and press Enter. Look for a line labeled “BIOS Mode” in the System Summary. Windows 11 requires a UEFI BIOS. If your system says “Legacy,” you cannot just bypass the restriction. You have to reboot your computer, enter the BIOS settings, and switch from Legacy to UEFI mode. Changing this setting usually requires you to wipe your hard drive and reinstall the operating system completely.
The SSE 4.2 Instruction Set Limit
There is one hardware limitation you cannot bypass with a USB patch. Recent builds of Windows 11 require a processor with the SSE 4.2 instruction set. This includes a specific command called POPCNT. If your CPU is from the late 2000s, it probably lacks this instruction entirely. Windows 11 will crash on the boot screen if you try to run it on a chip without SSE 4.2. Bypassing the setup checks will not fix this issue.
You can look up your exact CPU model online to check if it supports SSE 4.2 before you start this process. For most people using a computer from the 2010s, this is not a problem. The machine has SSE 4.2 but lacks TPM 2.0 or a modern CPU generation.
Method 1: The Rufus USB Bypass
Using Rufus is the most reliable way to install Windows 11 on an unsupported machine. It writes the installation files to your USB drive and automatically removes the hardware checks. You don’t have to edit any system files yourself.
- Download the Windows 11 ISO directly from Microsoft’s official download page. Scroll down to the “Download Windows 11 Disk Image (ISO)” section, select the multi-edition option, and click download. Choose your language to get the 64-bit download link.
- Download the latest version of the tool from the official Rufus website. Software developer Pete Batard maintains Rufus as an open-source utility, making it a widely trusted tool in the IT industry. It is a standalone executable file, so you do not need to install it. Just double-click the file to open it.
- Plug your 8GB or larger USB flash drive into your computer. Ensure you back up any files on this drive. Rufus will format it and erase everything during the process.
- In the Rufus window, select your USB drive from the “Device” dropdown menu at the top.
- Click the “SELECT” button next to “Boot selection” and find the Windows 11 ISO you downloaded earlier.
- Leave the Partition scheme as “GPT” and the Target system as “UEFI (non CSM)”.
- Click “START” at the bottom of the window. A box labeled “Windows User Experience” will pop up on your screen.
- Check the first box that says “Remove requirement for 4GB+ RAM, Secure Boot and TPM 2.0”. You can also check the box to remove the requirement for an online Microsoft account if you want to set up a local user account.
- Click OK. Rufus will format the drive and copy the patched Windows 11 files onto it. This usually takes about 10 to 15 minutes depending on the speed of your USB drive.
When Rufus finishes, you have a bootable Windows 11 installer that ignores Microsoft’s hardware limits. You can use it in two different ways:
- In-place upgrade: If you want to keep your files and programs, open the USB drive in File Explorer and double-click the
setup.exefile. This starts an in-place upgrade. The installer will act like your PC is fully compatible and upgrade your current operating system. - Clean install: If you want to wipe your hard drive and start fresh, restart your computer and boot from the USB drive. You will need to press a specific key during startup, like F12, F8, or Delete, to open your motherboard’s boot menu. Select the USB drive and follow the standard Windows 11 installation prompts.
Method 2: The Manual Registry Edit
You can bypass the hardware checks manually using the Registry Editor. This works well if you already created a standard Windows 11 installation USB using Microsoft’s Media Creation Tool and do not want to format the drive and start over with Rufus.
- Boot your computer from the standard Windows 11 USB drive. Click through the language and keyboard selection screens until you reach the “Install Now” button. Do not click the button yet.
- Press Shift + F10 on your keyboard. This opens a black Command Prompt window over the setup screen.
- Type
regeditand press Enter. The Registry Editor will open on your screen. - Navigate to this exact folder path using the folders on the left side of the window:
HKEY_LOCAL_MACHINE\SYSTEM\Setup. - Right-click the “Setup” folder, select “New”, and click “Key”. Name this new key
LabConfigexactly as written and press Enter. - Click on the new LabConfig folder. Right-click in the empty space on the right side of the window, select “New”, and click “DWORD (32-bit) Value”. Name it
BypassTPMCheckand press Enter. Double-click the file you just made and change the “Value data” from 0 to 1. Click OK. - Right-click in the empty space again, select “New”, and click “DWORD (32-bit) Value”. Name this one
BypassSecureBootCheck. Double-click it, change the “Value data” to 1, and click OK. - Close the Registry Editor window. Close the Command Prompt window. You can now click the “Install Now” button and proceed. The setup program checks the registry, sees the bypass flags you created, and skips the hardware validation step.
Software Updates on Unsupported Machines
According to official technical documentation published by Microsoft, the company does not guarantee security updates for unsupported devices running Windows 11. The company occasionally reminds users through on-screen watermarks that their hardware is incompatible. They reserve the right to block future updates for PCs that do not meet the base specifications.
In practice, many users with unsupported hardware receive routine cumulative updates and security patches through Windows Update without any issues. The system pulls the same updates as a supported machine. Major version upgrades, however, like moving from the 22H2 build to the 23H2 build, usually fail to install automatically on unsupported hardware. You have to download the newest ISO file and run the Rufus process again to perform an in-place upgrade to the newer version of the operating system.
Performance remains mostly identical to Windows 10 on the same hardware. If your computer struggled to open basic programs on older software, it will struggle on Windows 11. If it ran fine before, it will run fine now.